Installation of J-PLA
Installation of J-PLA consists of removing the old PLA and replacing it with a J-PLA.
Removing of old PLA may require desoldering. If original PLA is soldered directly on PCB, it needs to be desoldered.
C64 PCB's are quite fragile, so if you do not have experience in desoldering, I'd recommend finding a person who has done it before.
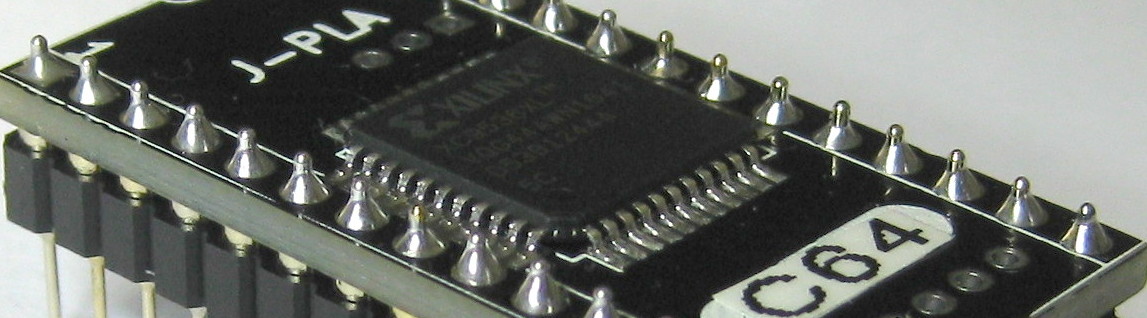
After desoldering the original PCB, I highly recommend installing an IC socket, instead of soldering J-PLA directly on board.
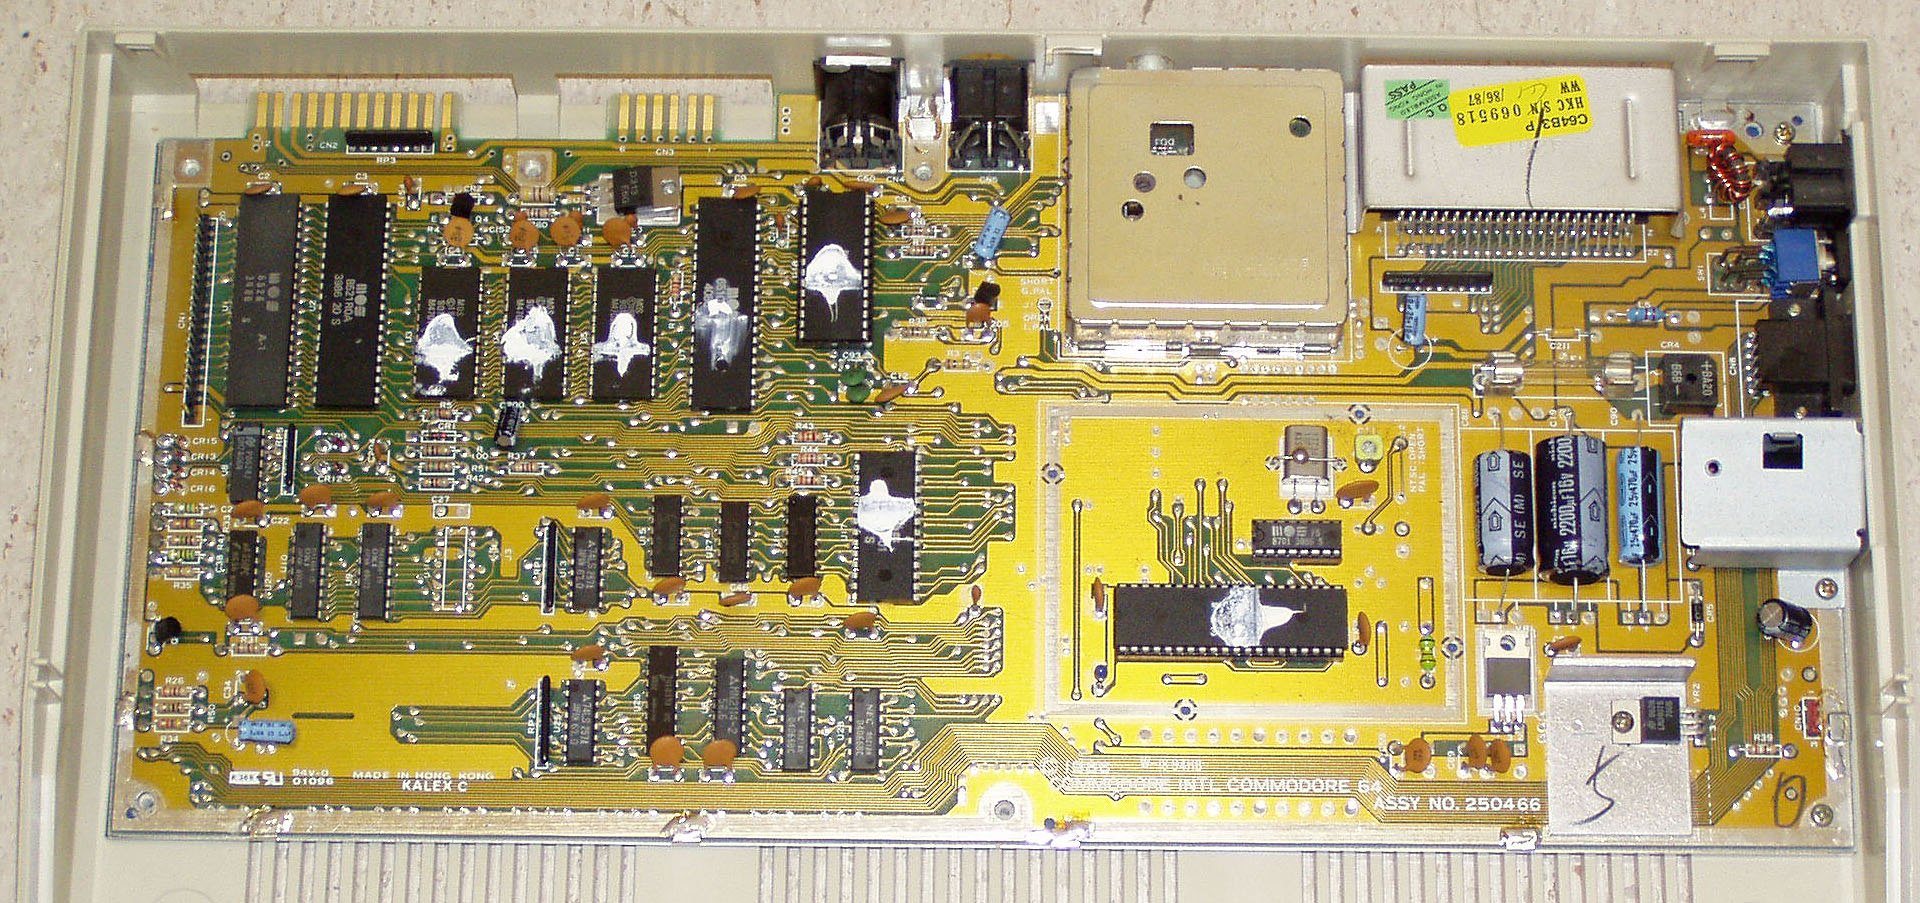
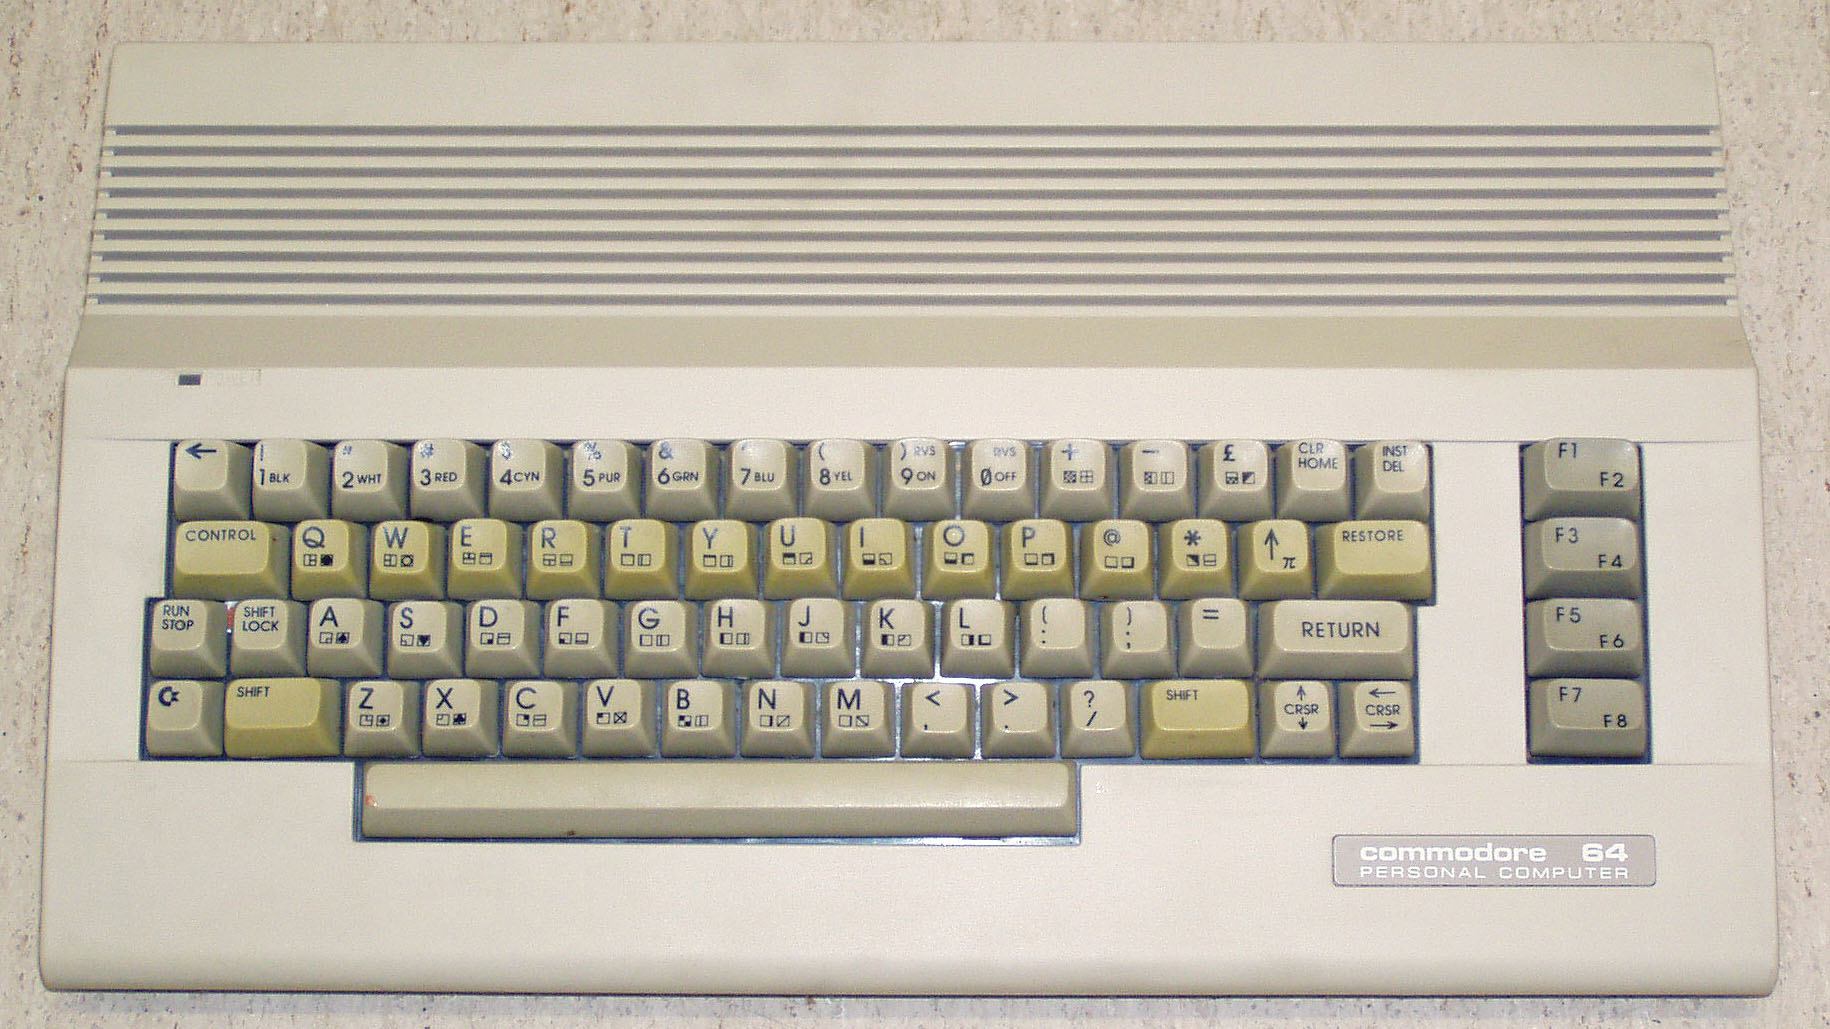
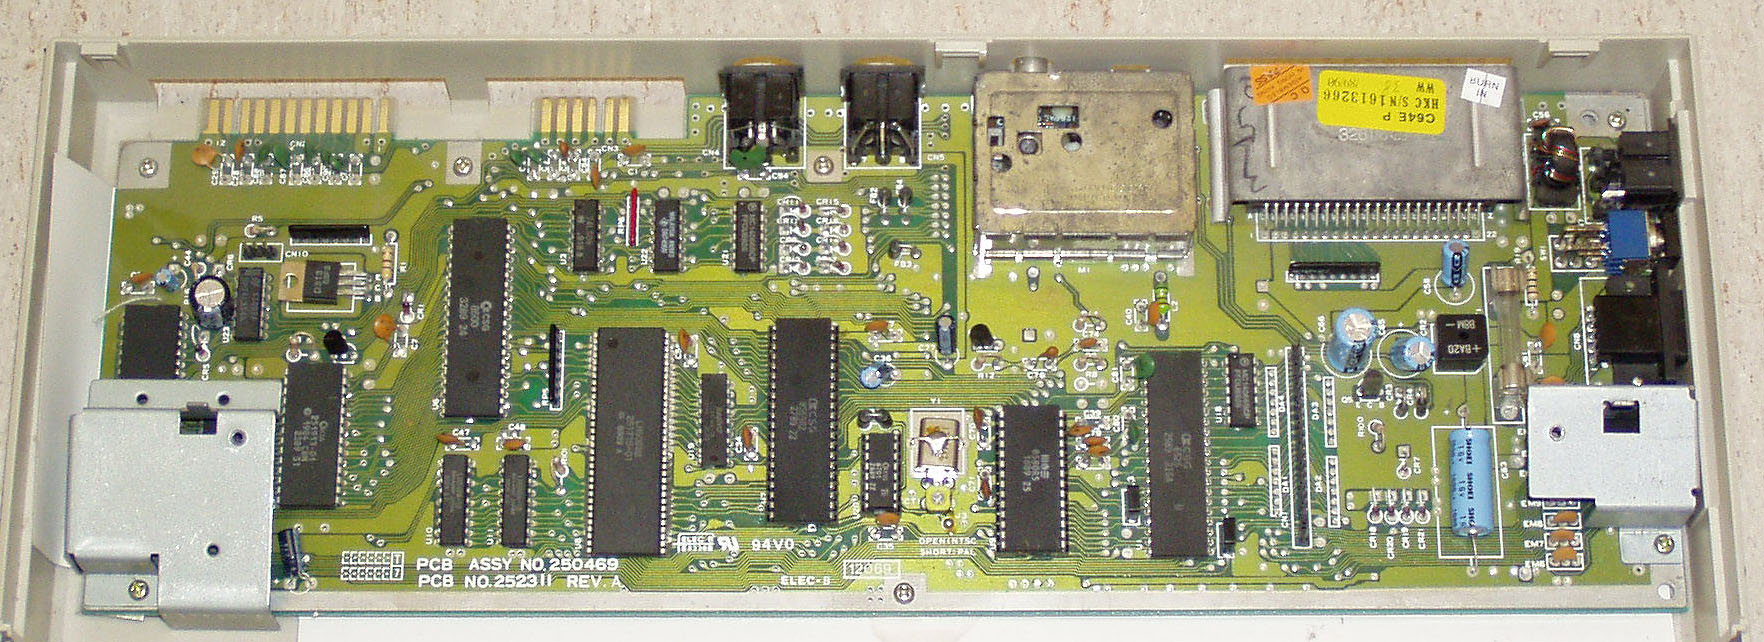
In every C64 mainboard the PLA-chip position is marked U17. In SX-64 the position is marked UE4
PLA location varies between mainboard models. See below for images of PLA location in every different mainboard model.
Newer mainboards (250425 and 250466) have capacitor(C204) and resistor(R42) installed on board to delay CASRAM signal.
This is required because these boards used faster PLA (906114-01), than the older boards.
J-PLA has CASRAM timing that is bit slower than 906114-01, but faster than original 82S100.
This timing is tested to work with every board version, but in case there is a board that needs
even more slower CASRAM timing (like 82S100), J-PLA has option to add delay.
Additional delay can be activated with a solder-jumber, by cutting a trace and soldering two pads together.
CASRAM timing is set to about 30ns default and can be raised to about 38ns with the solder jumper.